Doing It Yourself
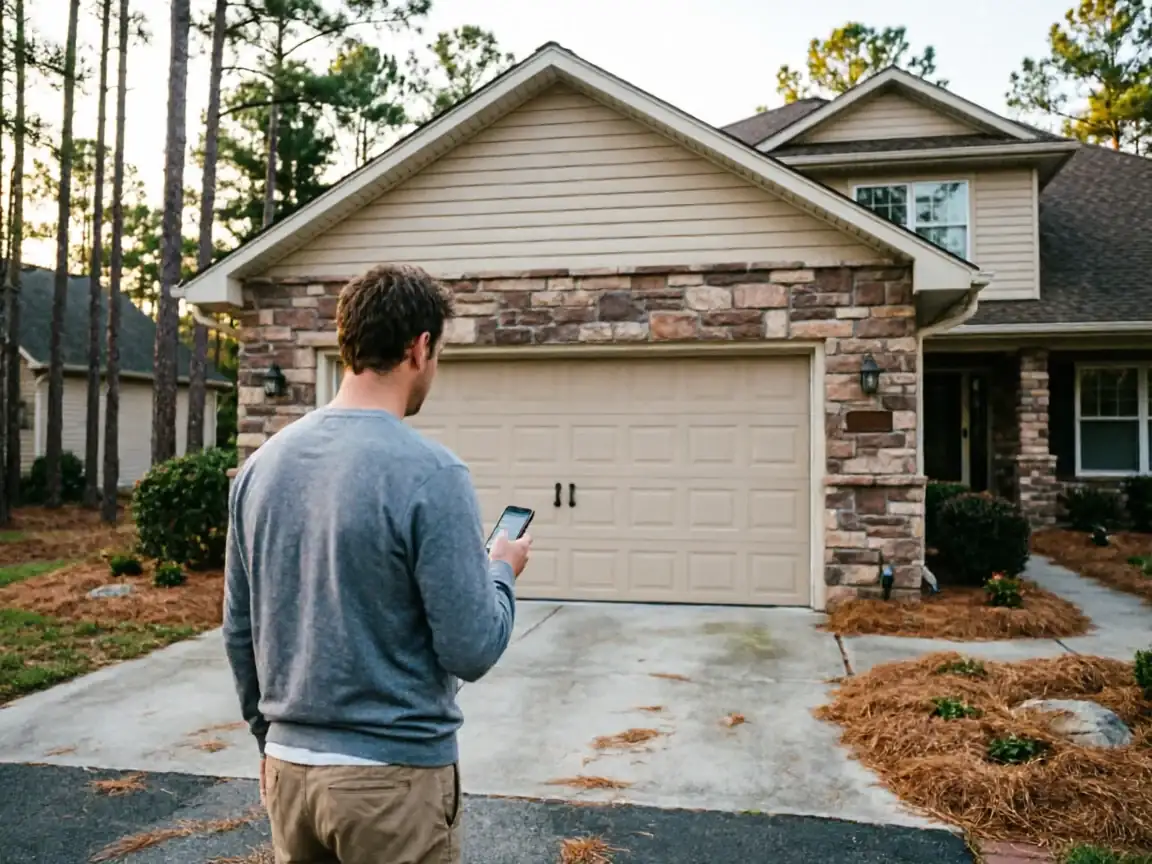
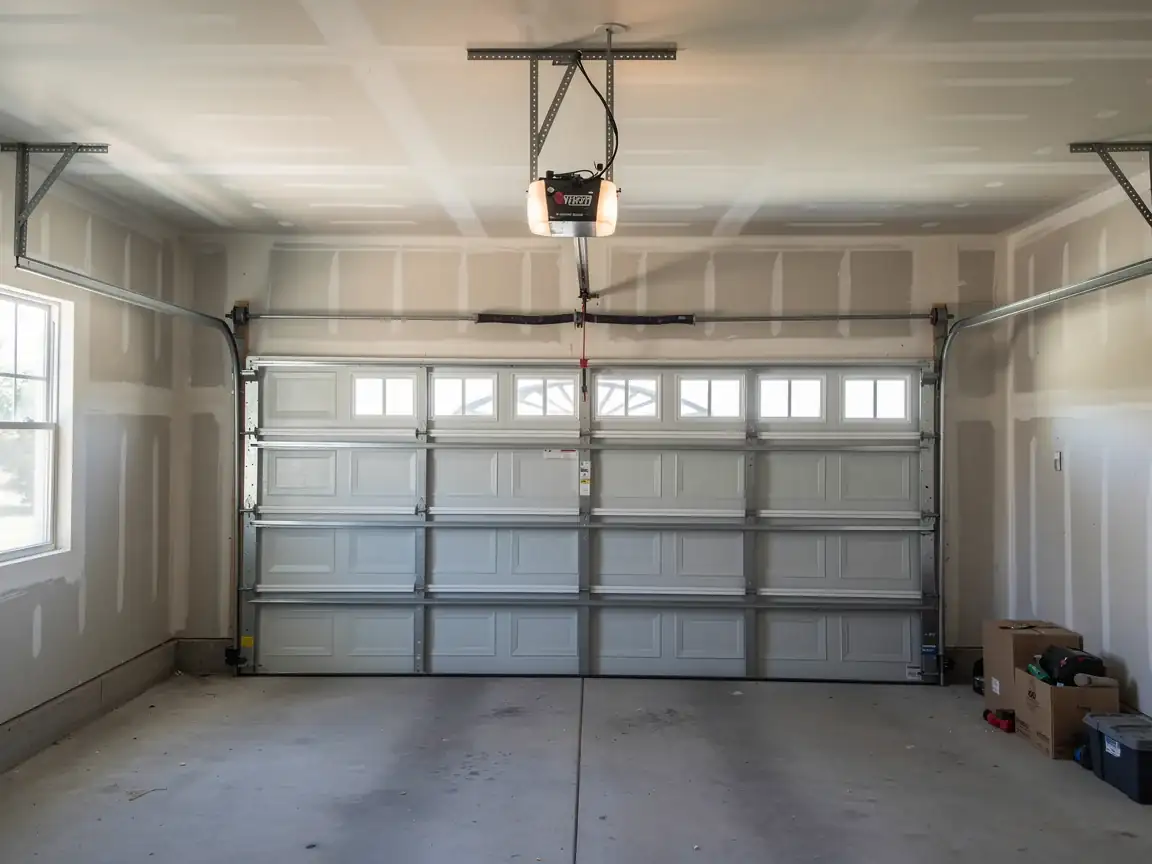
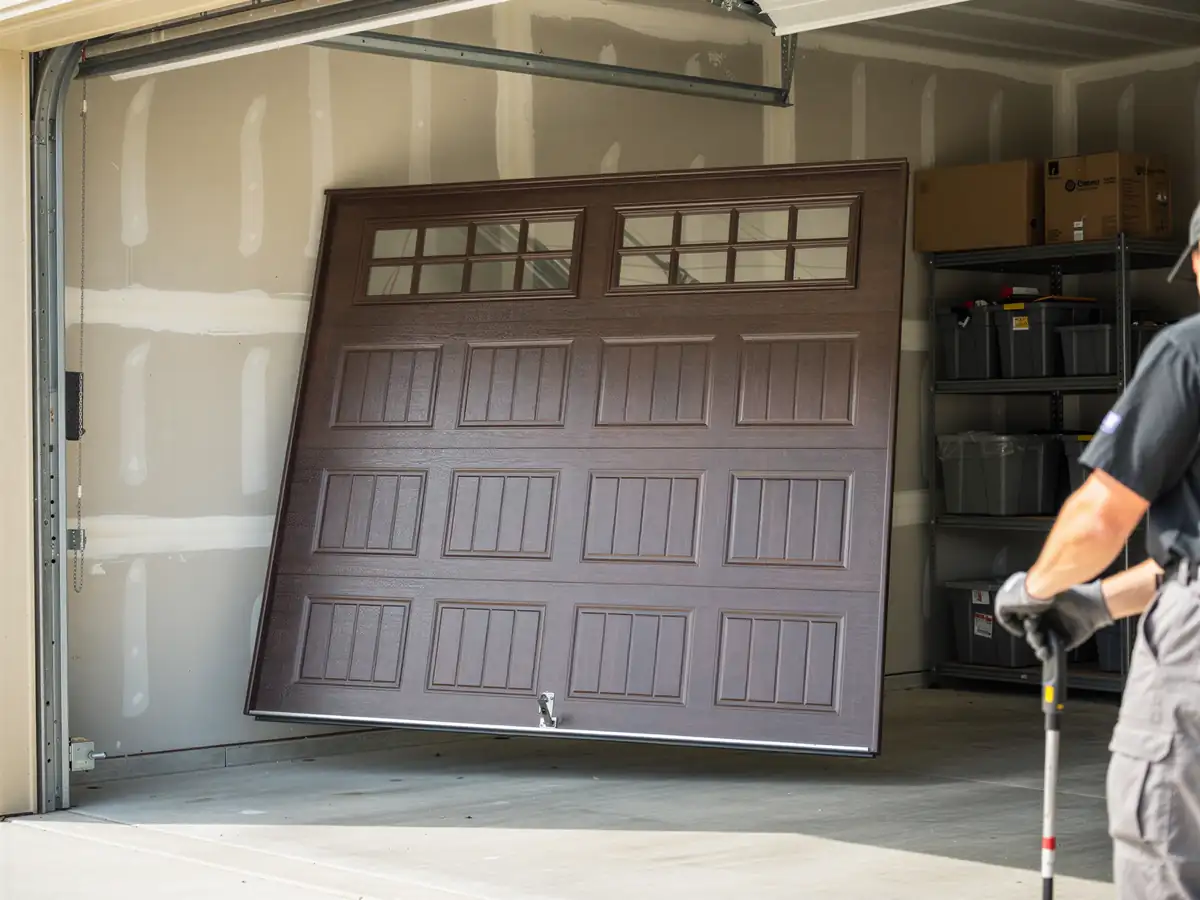
A lot of homeowners start an opener swap on a Saturday with a box from the hardware store and a YouTube video open on their phone. The mounting bracket and rail usually go in fine. Where it falls apart is the wiring to the wall control, setting the travel limits so the door doesn't slam the floor or crush the header, and aiming the safety sensors so they actually trip before a bike or a kid rolls through. We won't pretend this is rocket science, but we also won't pretend every install goes clean. If your existing track is bent, your spring is already weak, or your door is heavier than the box opener is rated for, you can end up with a motor that strains on every cycle and burns out inside a year. The honest limitation here: if your door and hardware are in bad shape, swapping the opener alone doesn't fix the real problem, and we'll tell you that before we quote the job instead of after. For a straight swap on a door that's already tracking true, doing it yourself is reasonable. For anything with a bent rail, a cracked panel, or springs older than the opener you're replacing, call before you buy the unit so you're not buying it twice.
What You Are Seeing
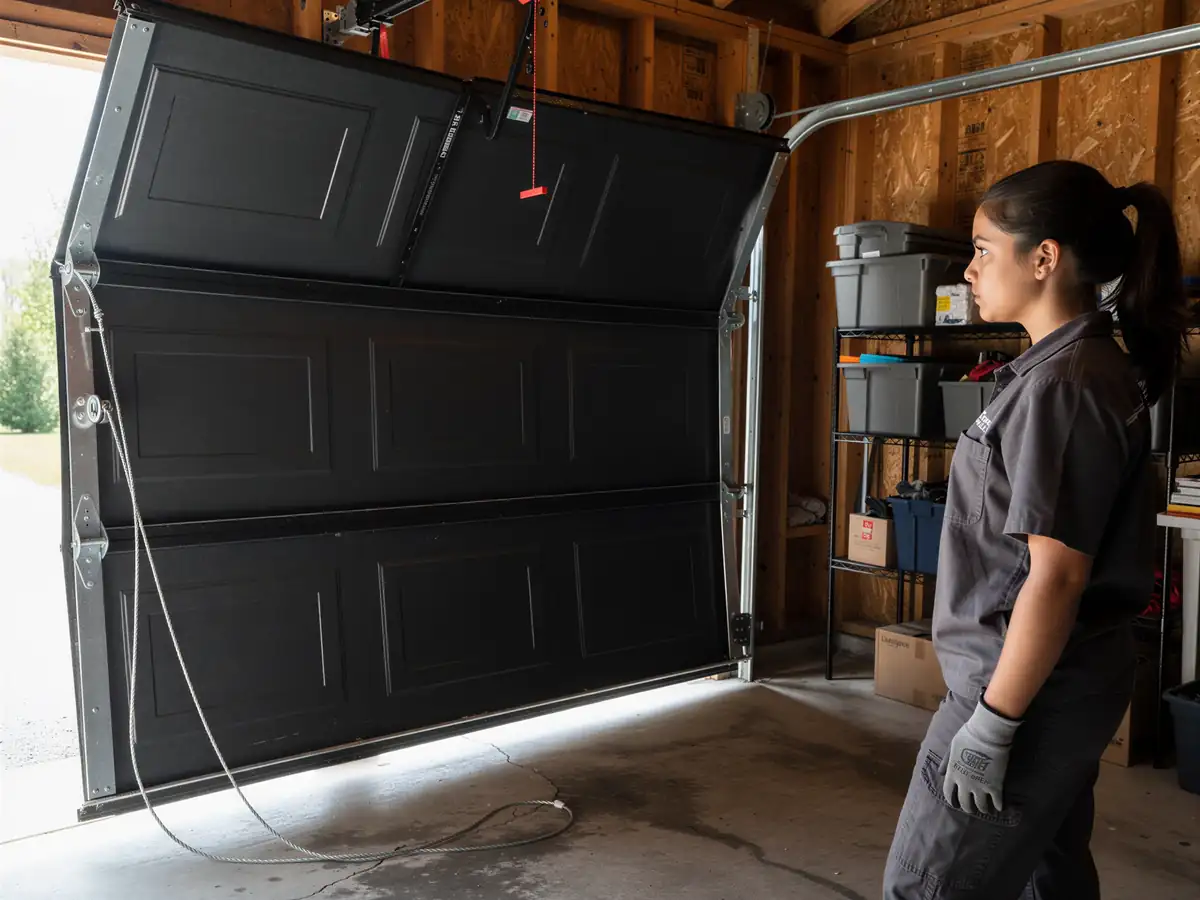
The opener groans through its full travel instead of running smooth. The door reverses halfway up for no reason you can spot. The remote works from the driveway but not from the street, or stops working at all after the first cold snap. Sometimes it's simpler: the motor hums and nothing moves, or the light flashes a code you've never seen before. Because a large share of housing stock here went up between 1957 and 2001, with the bulk of it dating to the 1960s and 70s across the eight areas we cover, a lot of these openers are original equipment or a first-generation replacement that's now decades old. That means chain-drive units built for a lighter, uninsulated wood door that got swapped out at some point for a heavier steel or insulated panel. The opener never got upgraded to match. It's been working harder than it was built for since the day that heavier door went in, and the grinding and the random reversing are what that looks like ten or twenty years later.
What the Repair Takes
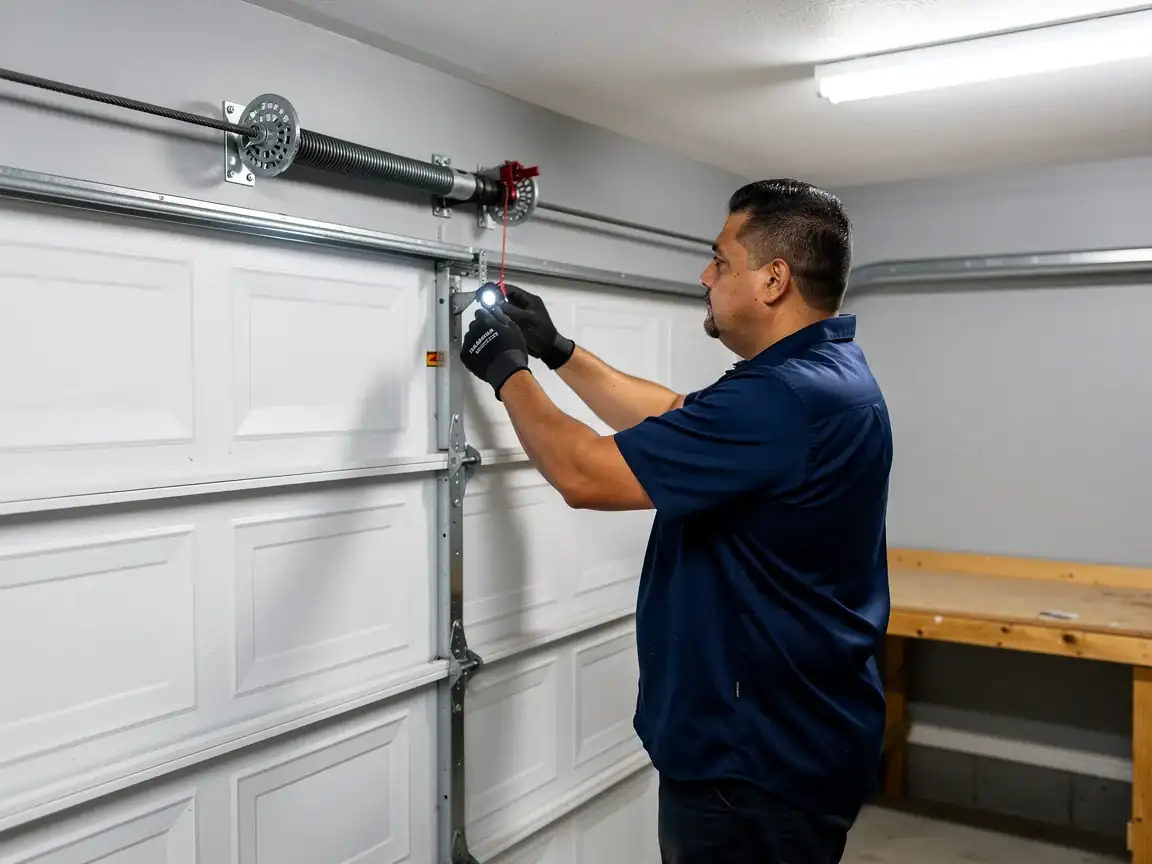
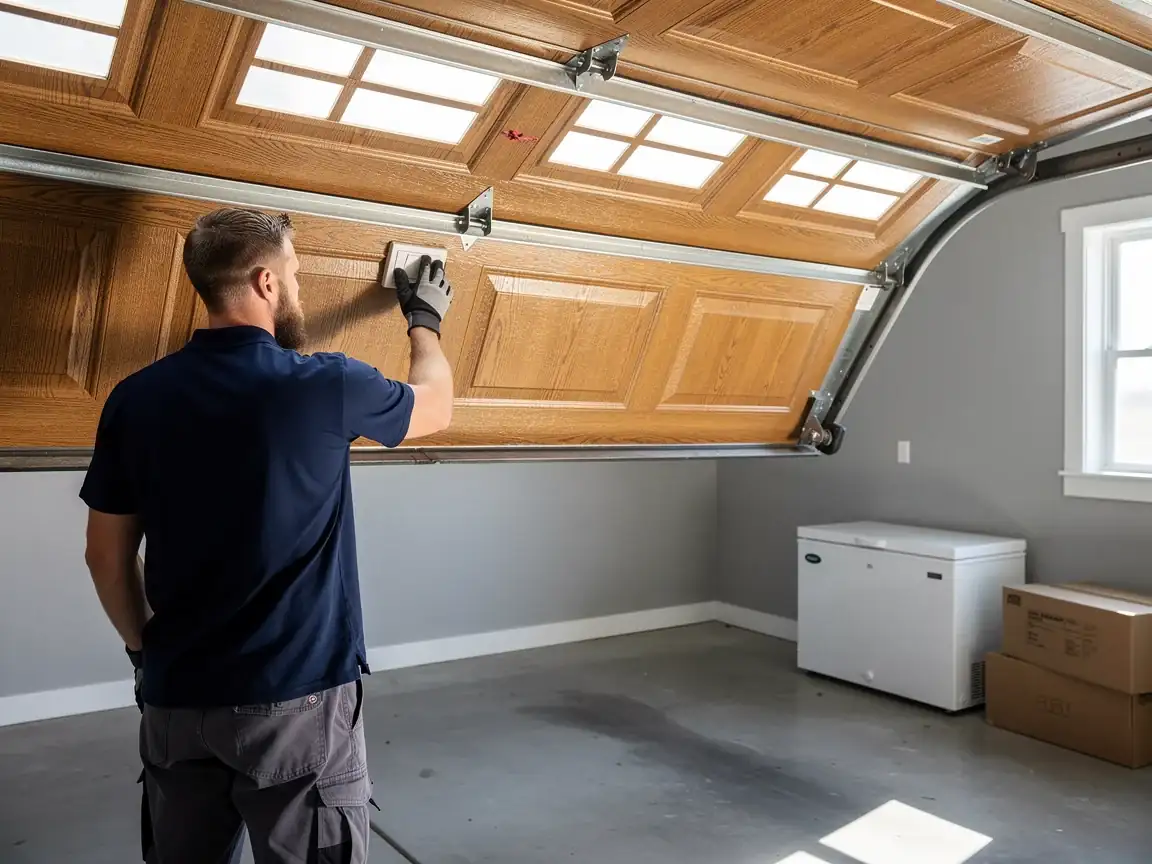
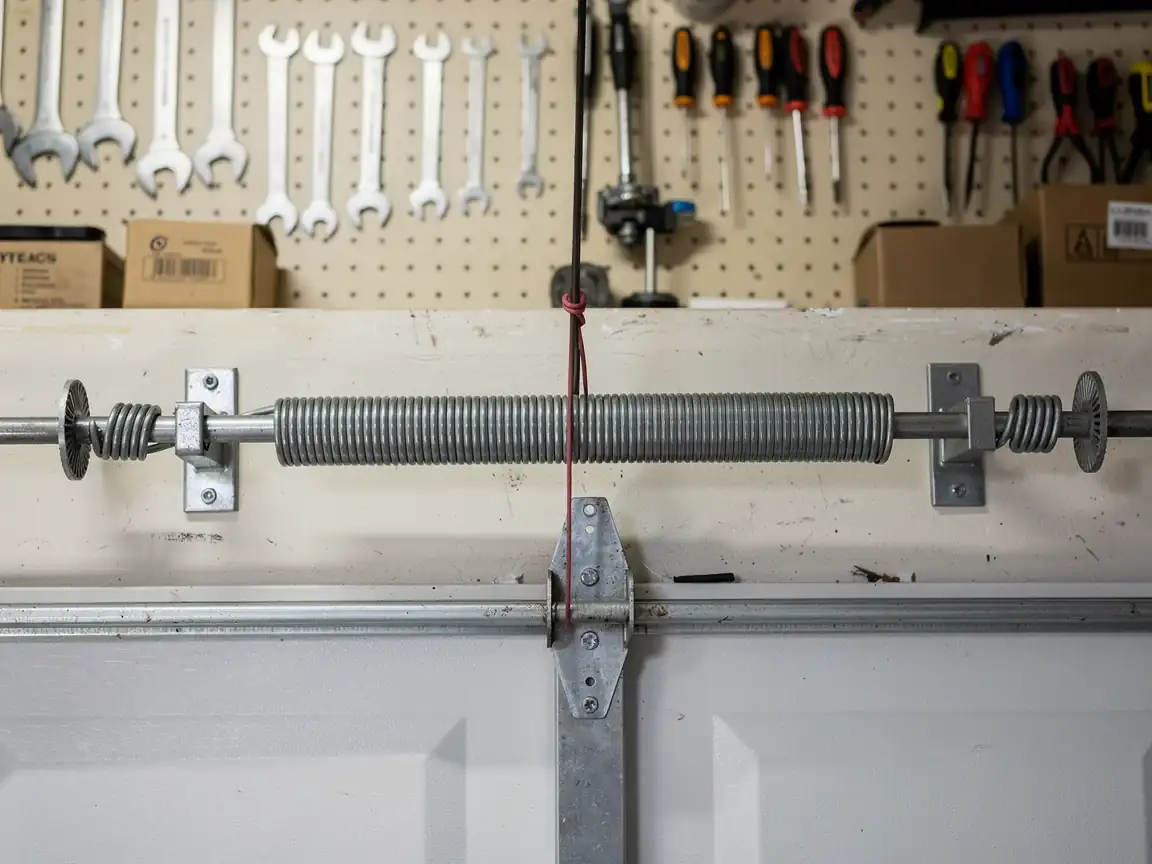
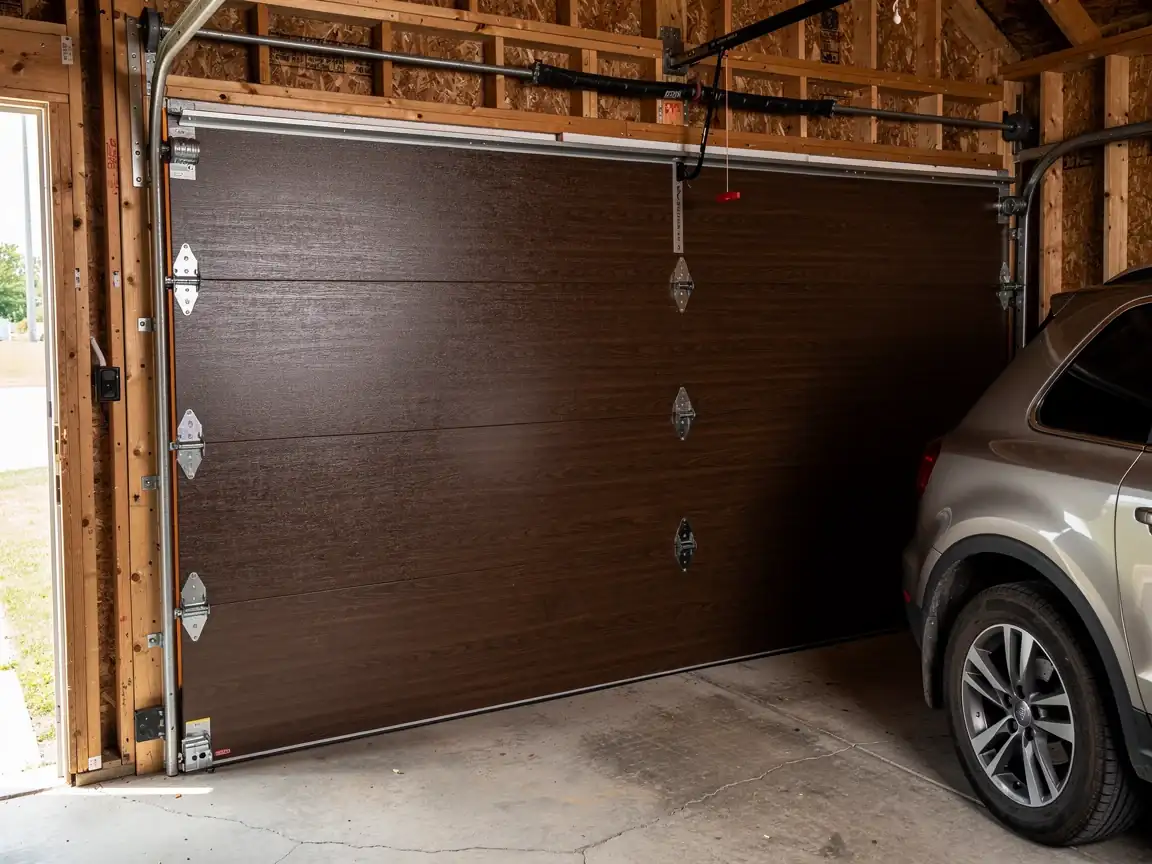
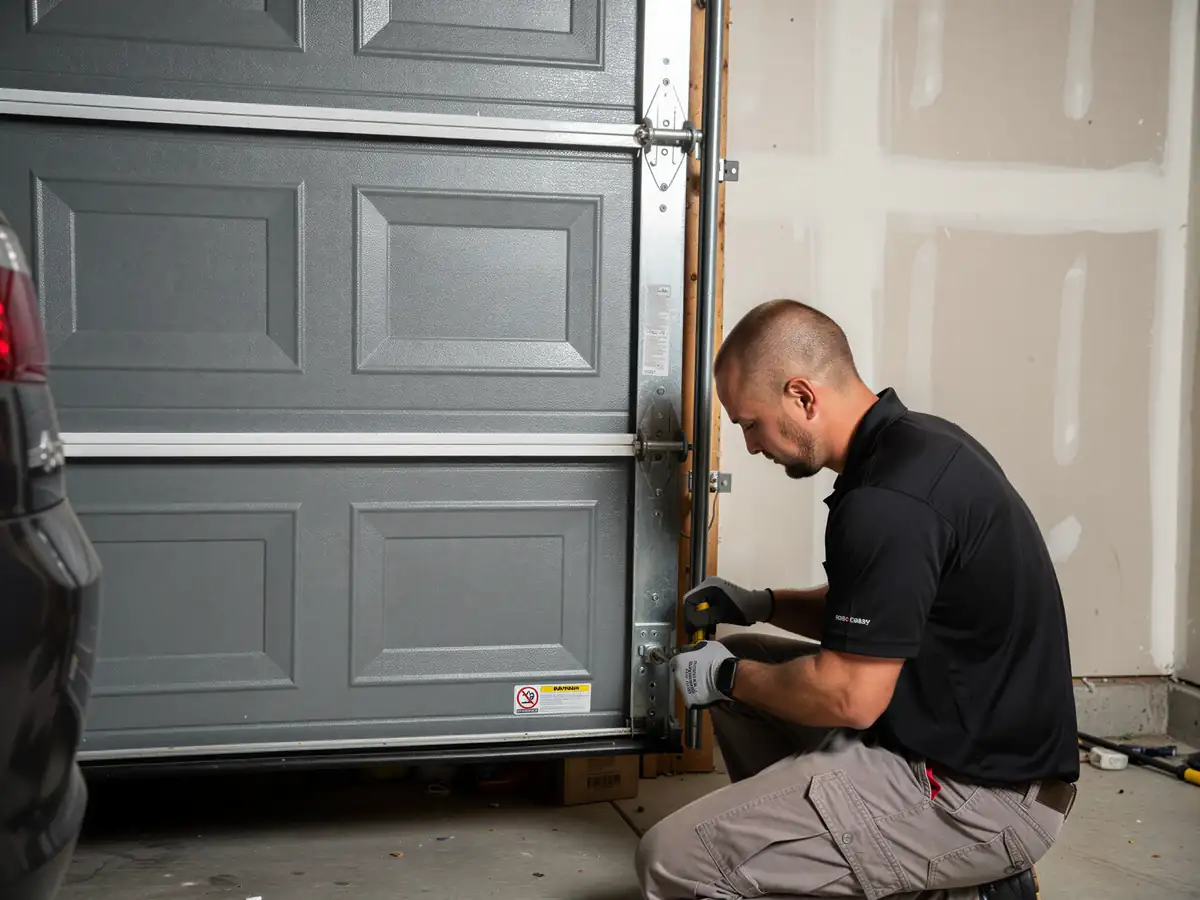
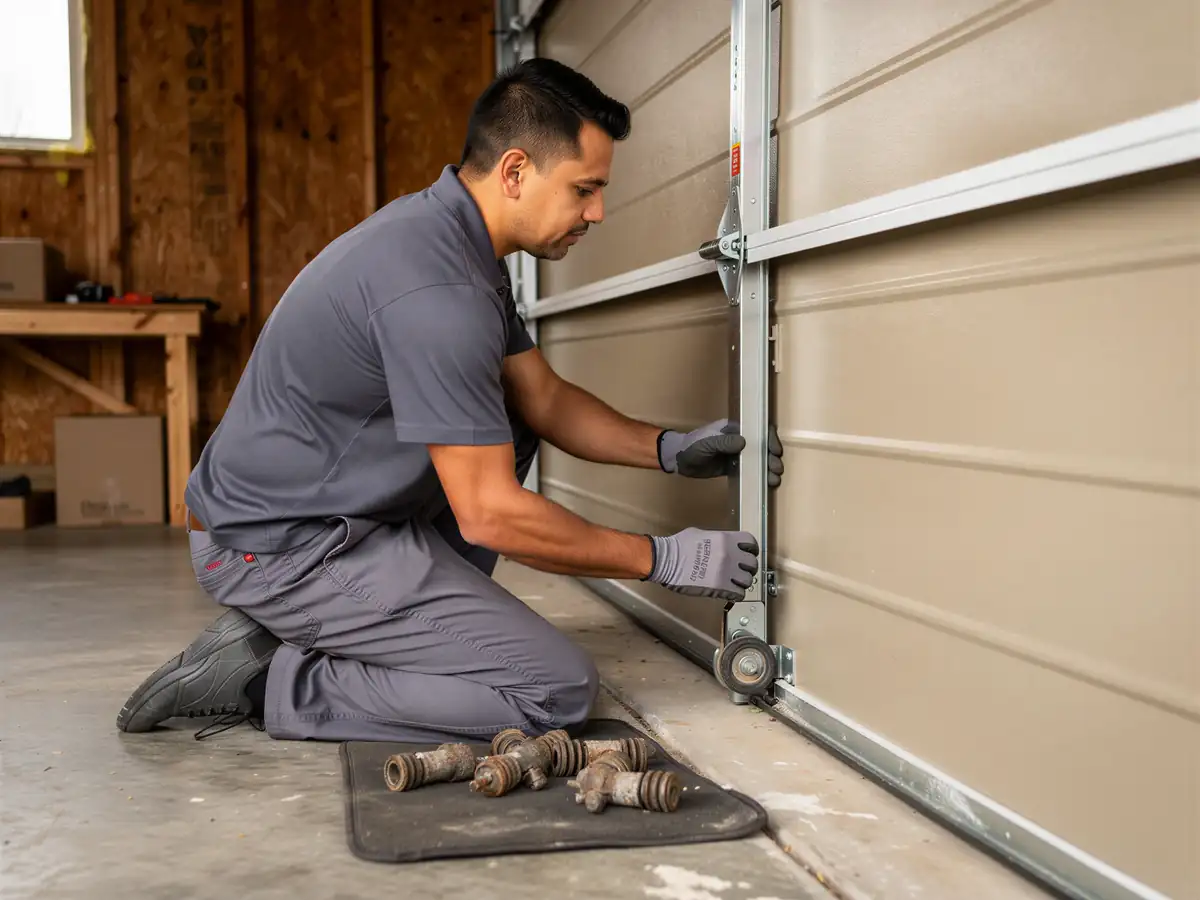
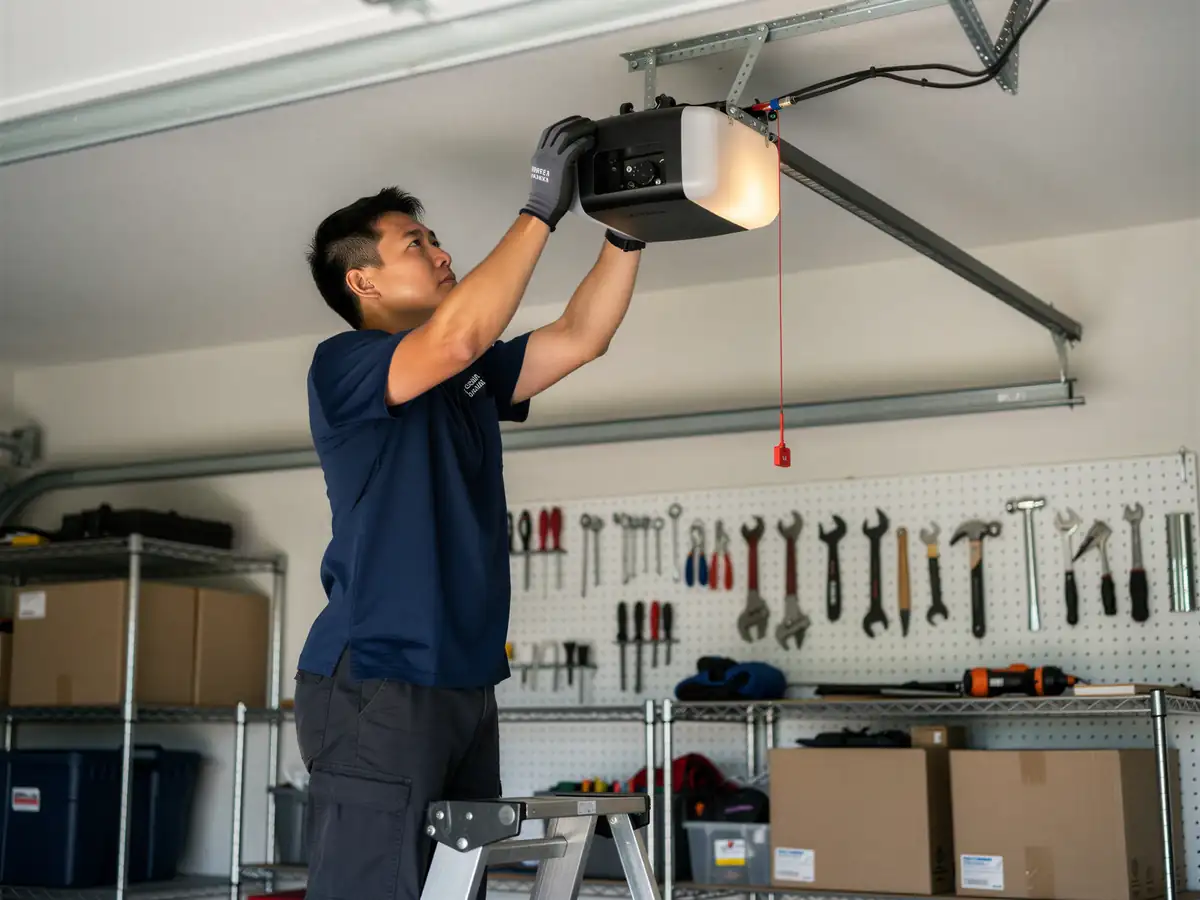
A proper opener installation starts with the door, not the motor. We check spring balance, track alignment, and panel weight before we talk horsepower, because a 1/2 HP unit on a heavier insulated door is how you end up back here in two years. With 5,889 owner-occupied houses in the service area, we see this same chain-drive-to-belt-drive swap request on a regular basis, and the job usually runs the same way: pull the old rail and motor, mount the new bracket to solid framing (not always where the old one was), run new wiring to the wall station, set travel limits, align the safety sensors, and test force settings so the door reverses on contact instead of fighting through it. At a median household income of $55,375, most owners here ask us to match the opener price to the door's weight rather than buy more horsepower than the door needs, and that's usually the right call unless you're planning a heavier door replacement soon. Parts availability is the one thing outside our control - some older rail and bracket styles are discontinued, and if yours is one of them we'll say so and spec a compatible replacement rather than chase a part that's not coming back in stock.